
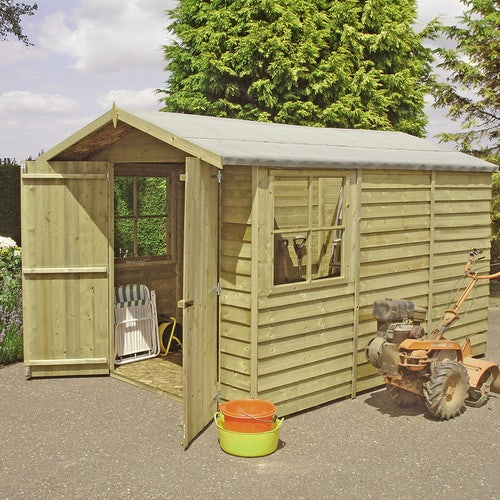
When building a shed, it is important to have functional guttering systems in order to maximise the lifespan of the shed. Installing guttering on a shed roof will provide a method of rainwater collection, which can then be diverted into a water butt or water storage tank for storage and future use in gardening applications. So, what is the proper way to install gutters?
We’ll show you how to install guttering on a shed roof like a pro.
Table of contents:
How to fit guttering to a shed
Fitting guttering to a shed is quite similar to putting guttering on a summer house.
Here are the steps you need to follow:
Step 1: Pre-installation preparation
When installing guttering on your shed, it is important to first identify where you’d like the rainwater to drain off.
In some cases, there are no nearby established drain systems. In this case, you’ll be looking to either direct your rainwater into a water butt or alternatively drain onto ground that is sloping away from the shed and any nearby buildings.
If none of the options are suitable, ensure your downspout extends around a metre out from the shed when you’ve finished installing the guttering to prevent surface water pooling.
Step 2: Identify the direction of the fall
Before starting the installation process, it is important to take a look at the shed to see if it slopes down in any place. Water flows downhill, so use the angle to decide in which direction you create the fall. Just place a spirit level on the side of the shed to identify if it slopes in a specific direction.
Next, you need to decide whether you’re happy installing the guttering directly onto the shed wall. If not, just install a small fascia board around the edge of the roof, and fix the guttering onto this.
Step 3: Mark the guttering position
Now take a length of string, and mark out where the gutter will sit on the shed. Don’t forget to add in a slight fall towards where the downpipe will be located. Mark the string’s position on the fascia or wall at intervals of a maximum of 3 feet, which will be where gutter brackets will be installed.
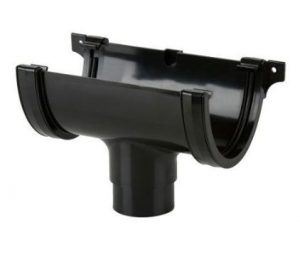
Step 4: Install the drain outlet
The next step is to install the drain outlet, where the downpipe will be located.
To do this, mark the screw locations of the drain outlet or the brackets that will hold the drain outlet, and drill pilot holes, before attaching the drain outlet to the fascia or shed.
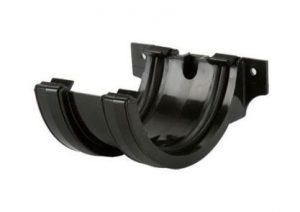 Step 5: Install gutter brackets
Once the drain outlet has been installed, it’s time to install the support brackets for the rest of the guttering.
Joint brackets must be installed where two pieces of the guttering meet, to create a watertight seal. You may require extra support brackets to ensure the gutter remains secure and level. These support brackets should be installed at the 3ft intervals marked earlier.
To install brackets, mark the screw holes, pre-drill on the markets and then attach the brackets.
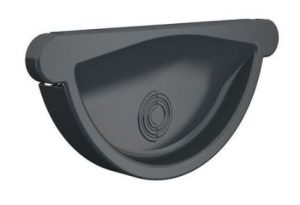
Step 6: Install the stop end
Now install the stop end on the guttering bracket at the far end from the downpipe outlet. A stop end is simply a short piece of guttering with a cap on the end to prevent water from leaving the guttering system at the opposite end of the downpipe.
Step 7: Lubricate gutter connections
Ensure your guttering has been cut to the correct lengths. If working with PVC guttering, apply lubricant to the cut ends of the guttering. This will allow the installation and joining of guttering sections more easily.
Once this has been done, simply slide the guttering sections into place in the brackets. They should simply snap into place.
Step 8: Install the downpipe
Now attach the downpipe to the drain outlet. You may need to include offset bends in the downpipe installation to direct water away from the shed and into a water butt.
You’ll also need to install downpipe brackets on the side of the shed to ensure the downpipe remains in place. The lowest bracket should be around 1.5 feet above the surface of the ground if no water butt is in use, and other brackets above the first bracket at no more than 3-foot intervals.
We’d recommend installing a 112.5-degree offset bend pointing outwards from the shed with a short section of downpipe at the bottom. This will ensure water runs away from the shed and does not pool next to the shed building.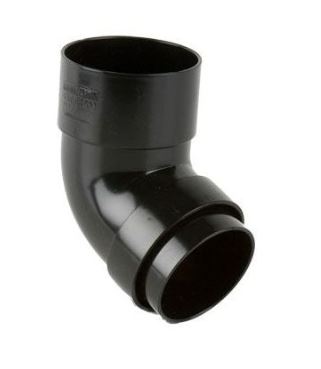
Why you should install guttering on your shed
Fitting guttering to a shed is a proactive measure to protect your shed, its surroundings and the items stored inside from potential water damage, erosion and moisture-related issues.
With the right set of DIY skills, the right tools and a bit of spare time, it’s a perfectly feasible home improvement project.
Now that you know how to install guttering on a shed, you’re well prepared to take on the task!
Do you still have some unanswered questions regarding gutter installation on a shed roof? Don’t hesitate to get in touch, whether you’re looking for recommendations on the best guttering for a shed roof, or need some help with the installation process.


