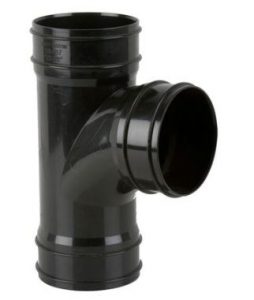
Soil pipes are an important part of a building drainage system, ensuring soiled water is efficiently and safely transported from bathrooms and into the drainage system. It is important to note that soil pipes are different from waste pipes – for more information check out our guide on how a soil pipe differs from a waste pipe.
Now:
All told, soil pipe installation is a pretty complicated process.
Still, if you’re an experienced DIYer with the right tools and a can-do attitude, you might be able to tackle it.
Here’s how you need to go about it.
Table of contents:
How to install a soil pipe
Step 1: Dig the hole
In order to install a soil pipe, you’ll need a hole that goes through the bathroom wall to allow the internal pipe fittings to exit the building and connect to the soil pipe, which tends to be fitted on the exterior of a building.
 Step 2: Measure up
Once the hole has been formed, the next step is to measure the distance between the hole in the bathroom wall, and the stop within the drain. Take a piece of soil pipe and cut it to the desired length, before connecting it to a branch.
Step 3: Fit the pipes
Push the pipe into the underground drain until it hits the stop, and insert a length of pipe into the branch. Ensure that the second pipe is in line with the hole.
If the pipe is slightly above the hole in the wall due to the angle of the branch, measure the excess length and cut this off the first soil pipe length. Then remove the second length of pipe from the branch.
Step 4: Continue measuring
Now measure the distance from the outside of the hole to inside the bathroom. Generally, this distance tends to be around 300mm in a cavity wall, so take this measurement and add an extra 300mm onto this figure – this will allow the WC waste connector to be fitted. Now cut a piece of soil pipe of this length.
Step 5: Fit a bend
Connect a bend to this cut soil pipe, and push the pipe through into the bathroom from the exterior of the building. Once pushed in, rotate the pipe so that the bend faces towards the soil pipe that runs down the outside of the building.
Step 6: Cut the soil pipe
Measure the distance between the stop within the bend to the stop within the branch, and cut a piece of soil pipe to fit this.
Step 7: Connect the pieces
Now take the bend off the pipe that runs through the wall, and connect it to the piece of pipe that you’ve just cut. Then push the pipe into the branch until it reaches the stop, and then push the bend back onto the pipe that goes through the wall.
Step 8: Finish the job
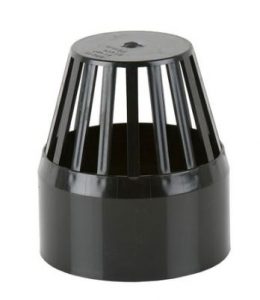
Finally, add an extra length of pipe to the top of the branch, and fit a cowl to the top. This allows for foul air to be emitted into the external environment without being noticeable from the ground or from the building.
That’s soil pipe installation taking care of!
Leaking soil pipe joints
Got a leaking soil pipe joint? There are a number of different methods for working out how to fix a leaking soil pipe joint, but it very much depends on the cause of the leak, and where the leak is within the system.
Generally, plastic soil pipes are manufactured from PVC, and if the leak is only small, a silicone sealant could be all that is required.
However, if the leak is larger, the leak may be due to larger issues such as a pressure build-up, caused by a blockage further down the pipe system. If this is the case the blockage will need to be cleared, and this may need to be undertaken by a professional.
Do you still have some unanswered questions about soil pipe installation? Don’t hesitate to get in touch if you are looking for product recommendations or installation advice – just call the team on 01752 692 221 or use the live chat in the bottom right-hand corner and we will be more than happy to help.


