
26th January 2026
Leaking gutters are a common problem faced by householders. One of the main causes of leaking pipes is as a result of the way the lengths of pipes have been connected.
To guard against potential future leaks, all lengths of guttering must be joined correctly.
We recommend enlisting a professional tradesperson for any work on guttering systems. Working at height will always present a safety risk and in many instances, working on guttering will involve being at an above-ground level.
A professional tradesperson will be aware of the necessary safety precautions to take.
With that in mind, this guide will show you how to join uPVC guttering so you have a clearer view of what the process entails.
Table of contents:
How to join uPVC guttering
A tradesperson will help with the following aspects when looking at how to join uPVC guttering:
uPVC is one of the most common guttering materials for existing systems on households and properties throughout the UK. The main reason that uPVC guttering is so popular will normally come down to cost. However, uPVC guttering is also lightweight, low maintenance and easy to fit.
Standard guttering is normally supplied in 2-meter, 3-meter and 4-meter lengths. uPVC guttering can be cut to the length using a fine-toothed hand saw.
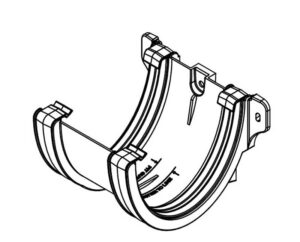
Joint brackets also referred to as union brackets, are necessary on a long run of guttering where lengths need to be joined together.
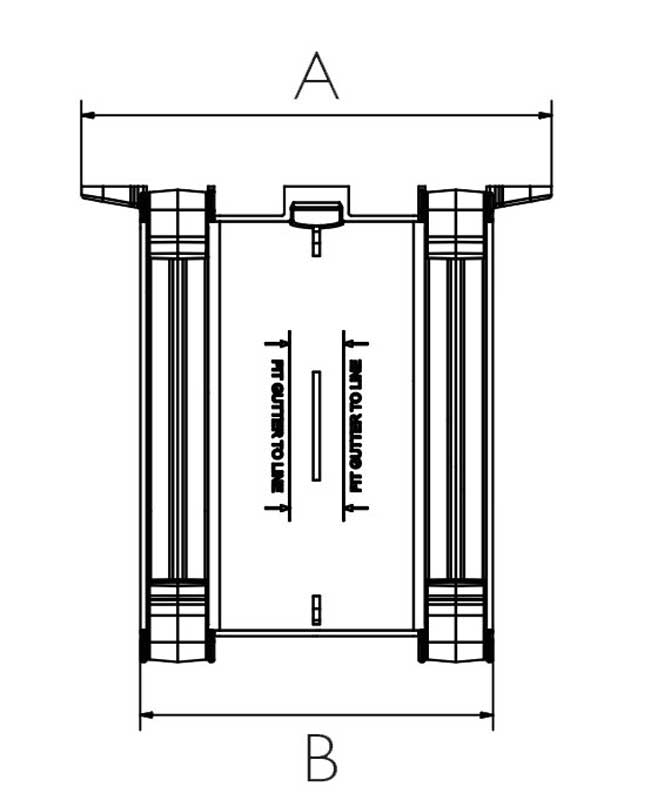
What are joint brackets/’union brackets’?
A joint bracket is a wide support clip which has rubber gaskets to create a watertight joint.
When replacing a guttering joint, never just replace the seal. You should always replace the whole fitting itself.
The majority of joint brackets will be interchangeable, however, it is important to always confirm compatibility prior to fitting. If you have any concerns about compatibility at all, please contact our Drainage Superstore helpline.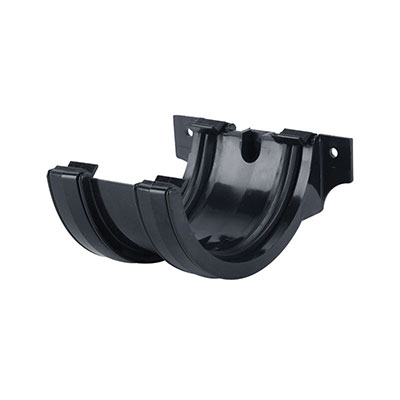
Joint brackets positioning
There should be a joint bracket positioned at every junction between two gutter sections. The bracket must be secured by using all of the screw holes available to ensure the stability of the system.
When plastic expands and contracts as a result of temperatures rising and dropping throughout the day and during different seasons of the year, this creates movement. Expansion gaps allow for this movement in the guttering system.
The manufacturer’s instructions will advise where and what sized ‘expansion gap’ is required. The size of the expansion gap can vary and is based on the make and type of guttering, and can even be based on the type of weather during which the system is being worked on.
And that’s how to join plastic guttering. Always refer to the manufacturer’s instructions prior to joining guttering or using a joint bracket.

Was this guide useful?
Mentioned in this project guide:


