
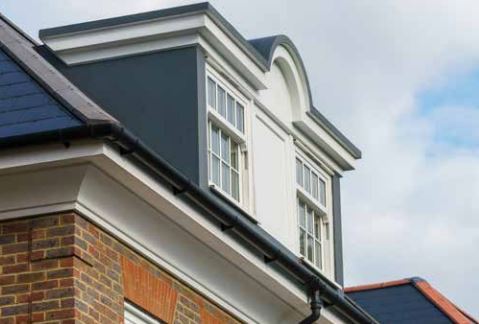
The Cascade cast iron style rainwater systems by Brett Martin are a great choice of guttering system and give your home a traditional and stylish feel, but how do you install them? We’ve created a brief guide to give you some help with the installation process. We’re also proud to offer the Cascade range at our famously competitive prices.
Table of contents
- What is the Cascade rainwater system?
- What you need to install Cascade guttering
- How to install Cascade cast iron style guttering
- What do Cascade guttering systems need for maintenance?
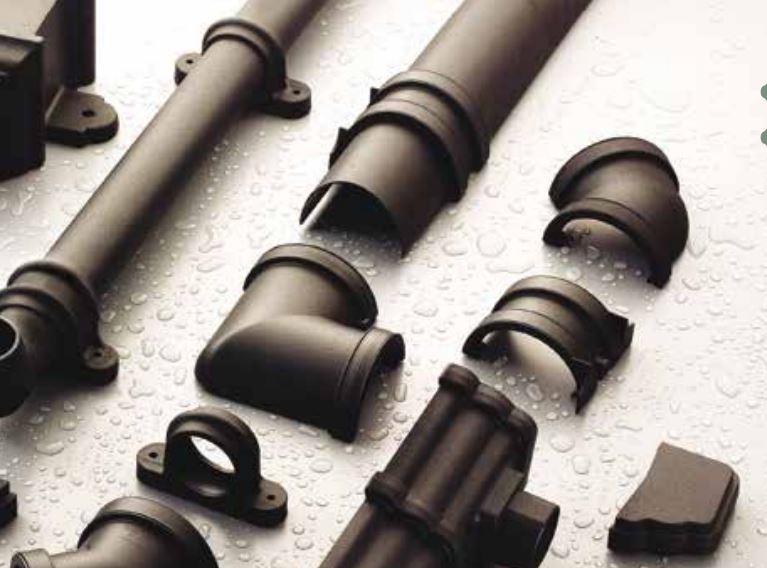
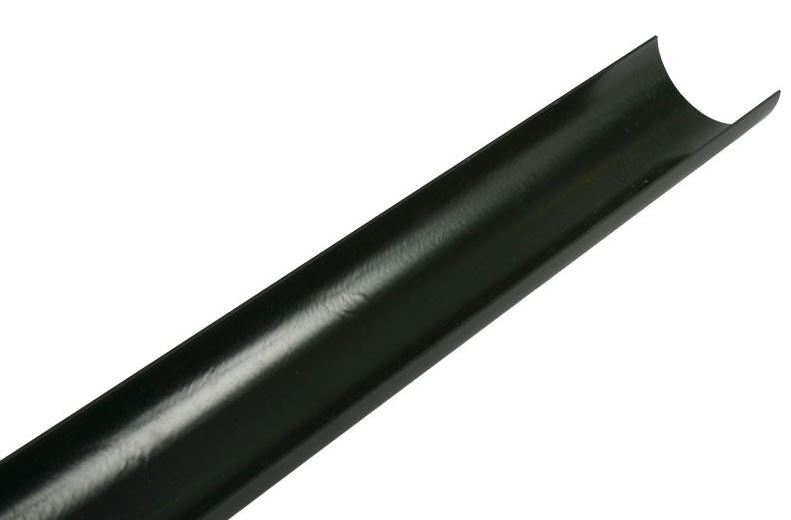
What is the Cascade rainwater system?
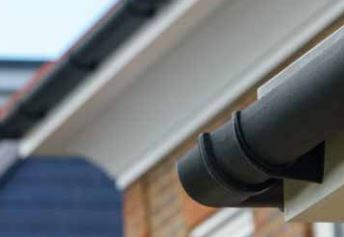
Brett Martin has over 60 years of experience in the manufacturing of specialist plastic products that are distributed globally, particularly focusing on plumbing and drainage products. The Cascade range of guttering from Brett Martin has been designed to emulate the traditional cast iron guttering that has been used across the country for over 150 years, to give the home a traditional period-style finish, but with all the benefits of a contemporary plastic guttering system. The Cascade guttering system is:
- quick and easy to install
- corrosion-resistant
- durable
- lightweight
and still provides homeowners and architects with the desired appearance of traditional cast iron guttering.
What you need to install Cascade guttering
- Drill & drill bits
- Screwdriver
- Plumb line (aka plumb bob)
- Spirit level
- Line level
- Hammer
- Saw & mitre cutting guide
- Tape measure
- Silicone sealant
- Workbench
- Pencil or pen
- Work platform
- PPE
How to install Cascade cast iron style guttering
Step one: Fitting running outlets
Fix running outlets above the drains or gullies where the water will drain into. We’d recommend using 25mm x 5mm corrosion-resistant screws – try to avoid countersunk screws as they will restrict thermal movement.
Step two: Calculating fall
To create a steady rainwater run-off, the Cascade guttering should be fitted with a downward fall towards the running outlet – a 1mm fall for every 600mm. The running outlet should be at the lowest point on the gutter run.
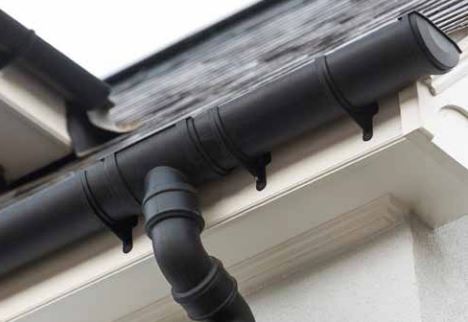
Step three: Fitting fascia brackets
a) The first fascia bracket should be fitted on the fascia at the furthest position from the running outlet, but no more than 150mm from the end of the fascia board. Stretch a line to create a taut line between the fixed running outlet and the fascia bracket. This will help to establish a straight gutter line.
b) Fix fascia brackets to the fascia board at equal intervals that are no more than 900mm apart. When joining two pieces of guttering, use a union bracket instead of a fascia bracket.
c) On internal and external angles, ensure that fascia brackets are a maximum of 100mm from the edge of the gutter angle.
d) Please note that if you’re installing Cascade guttering in an area prone to heavy snow, the fascia brackets should be no more than 60mm apart.
Step four: Cutting gutters to size
Cascade gutters and downpipes can be easily and quickly cut to length using a saw. Use a file to remove any burrs from the rough edges of the sawn ends.
Don’t forget to allow for length to fit the expansion lines marked in the fittings.
Step five: Fitting the gutter
Lubricate the seals using a form of silicone spray or an alternative lubricant. Next, place each gutter in position, with the back edge under each fitting. Then rotate down and click the front edge of the fitting into place over the top edge of the gutter.
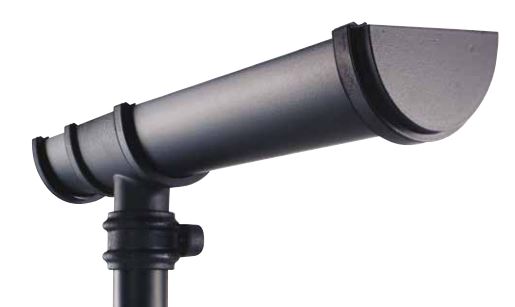
Step six: Fitting downpipes
a) Check the vertical alignment of the downpipe using a spirit level, and when happy with the angle, mark the wall using the holes in the socketed downpipes. Then drill, plug and fix the downpipe using cascade lug fixings. Use downpipe clips at the centre of downpipes, and where required for extra support.
b) If required, you can fit an offset between the running outlet and downpipe. This allows the downpipe to reach the wall on which it will be fixed. To allow for thermal movement and expansion, ensure each connection is retracted at least 5mm from the receiving socket before it is fixed to the wall.
c) Fit a downpipe shoe to the end of the downpipe, using fixing lugs to secure it to the wall. This will provide a smooth and accurate direction of rainwater into the drain or gulley below.
d) If you’d like more than one pipe to run into a single downpipe or an extra piece of architectural interest to your guttering system, you can install a hopper. Hoppers are most commonly mounted on the wall using pre-drilled side lugs.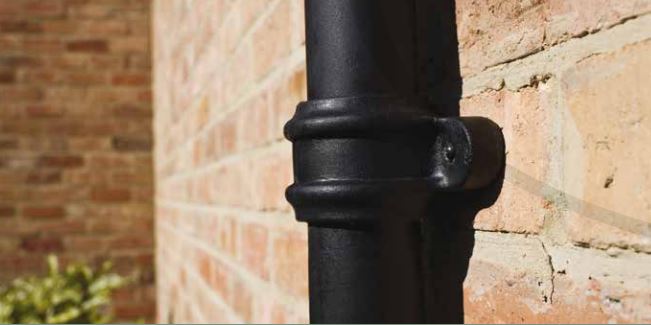
Step seven: Testing
Once you install the rainwater system, don’t forget to test it. Add water to the drainage system to check that the fall is correct, no adjustments are required and that connections are fitted correctly with no leaks occurring.
What do Cascade guttering systems need for maintenance?
It is important to check your Cascade guttering system at regular intervals, clearing away any leaves or debris that may have fallen into the guttering system, as they can cause blockages and prevent the drainage system from performing efficiently. If leaves are regularly blocking up your guttering, you can opt for a number of different leaf guards to prevent leaves from entering the guttering system.

Was this guide useful?
Mentioned in this project guide:


Brett Martin Cascade Cast Iron Style 112mm Roundstyle Plastic Running Outlet
from
£13.80 Incl. VAT


Brett Martin Cascade Cast Iron Style 112mm Roundstyle Plastic Internal Stopend
from
£6.00 Incl. VAT

Brett Martin Cascade Cast Iron Style 112mm Roundstyle Plastic Fascia Bracket
from
£2.74 Incl. VAT

Brett Martin Cascade Cast Iron Style 112mm Roundstyle Plastic Union Bracket
from
£10.42 Incl. VAT


