

29th October 2026
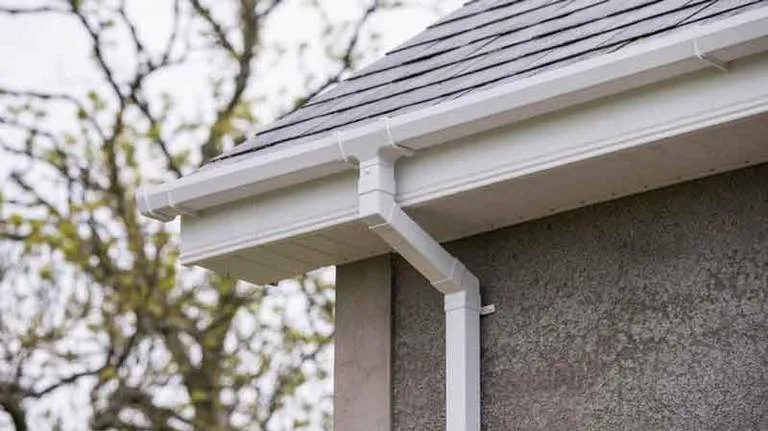
Installing gutters requires careful planning around not only the structure of a building but also the foundation. You need to know where the water will enter the gutter system and where it will head. If you’re replacing an entire system, dispose of any existing guttering parts you plan to remove appropriately. Some guttering can be recycled, so check with your local tip or the manufacturer before you get rid of the parts.
With that said, here’s our guide to help you learn how to put up gutters on your property!
Table of contents
How to install a gutter (step-by-step)
So, what’s the process when it comes to how to install gutter systems? Well, let’s begin with what you need:
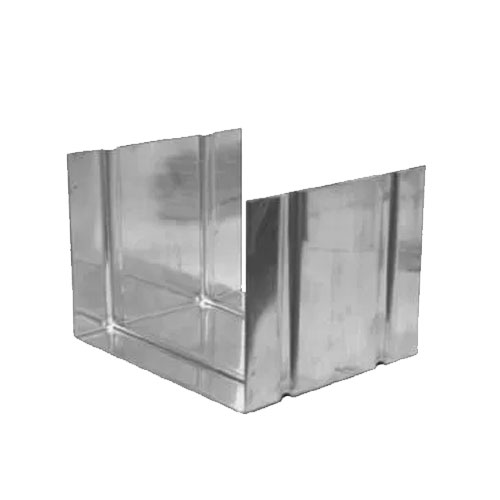
- Guttering of choice (plastic, copper, steel, etc.) (Learn which is best for your project via our gutter types guide)
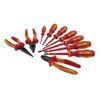
- Safety googles
- Protective gloves
- Scaffolding
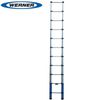
- Ladder (Note: Ensure your ladder is safely secured when used and, if needed, ask for someone to assist with the project)
- Plumb bob
- Pencil
- Drill
- Screws
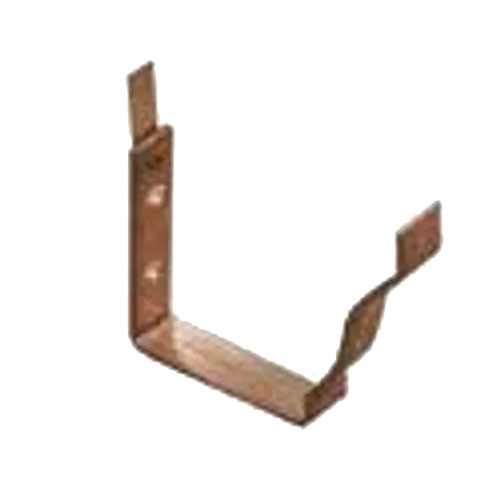
- Fascia brackets
- String
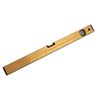
- Spirit level
- Screwdriver
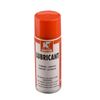
- Silicone spray or sealant
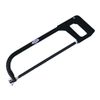
- Hacksaw
On to the installation process!
Step one: Locate where you want to install the gutter
Using a plumb bob, hang it directly over the drain. This will be used to identify where the running outlet or stopend outlet will sit. Using a pencil, mark this position on the fascia for the outlet and its fixing holes. The marking should not exceed 50mm below the roof level.
Step two: Drill into the fascia
Drill pilot holes into the fascia and, using screws as recommended by the manufacturer, fit the outlet, but avoid fitting it too tightly. You only need to make sure it’s sitting securely in place. This is where the downpipe will also be applied in a later stage.
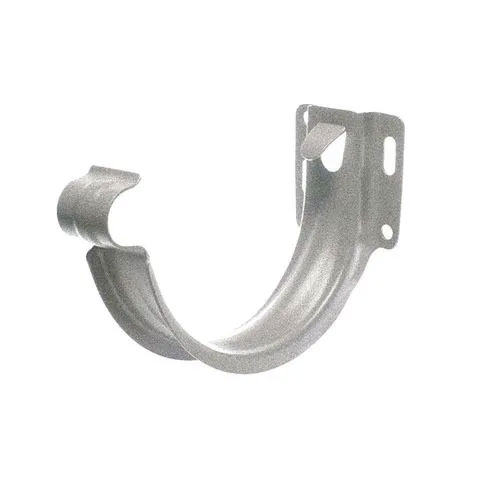
Step three: Add your first fascia bracket
From the outlet, measure a minimum of 100mm from the opposite end of the fascia. Place a fascia bracket at this point, higher than the outlet, with the fall to said outlet roughly 3mm per metre, and fix it in place. If the outlet is centred on the fascia, add a bracket on each end.
Step four: Check fall measurements and measure for additional brackets
On the fascia bracket(s), tie some string and lead it to the outlet, pulling it taut. Use your spirit level to check the string is running at a slight angle from the bracket(s) to the outlet at 3mm per metre.
Then, mark the positions for the remaining brackets, measuring from the first fitted fascia bracket. These should be no more than one metre apart from each other and with a maximum distance of 150mm from angles or stopends.
Step five: Install the brackets
Following the manufacturer’s instructions, ensure each bracket is slightly touching the string for an even fall. Do not overtighten them.
Step six: Prepare the gutter seals
Lubricate the gutter seals with silicone spray before fitting the guttering. This will help ease the fitting process and will help with expansion and contraction. This process must be done for all seals as you work through the installation.
Step seven: Installing the first section of guttering
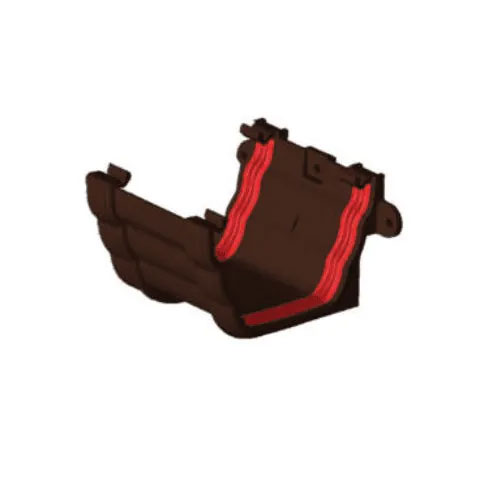
Start at the outlet end and work towards the highest point. Fit the first length of the gutter and tilt it backwards so it sits beneath the back of the clip, then push down, and you should hear a snap sound to indicate it’s fitted. At the end of this first piece, you will need to fit a union bracket, which should be screwed into the fascia. Ensure you use screws recommended by the manufacturer.

Step eight: Installing the rest of the guttering
For the next section of guttering, install it into the union bracket. Make sure the joists line up with the insertion depth marked on the fittings. Continue this process until you reach the final part.
Step nine: Installing the final section of guttering
Your guttering part might be too long when you reach this end. If this is the case, measure the gap for the final section and cut a piece of guttering to length using a hacksaw.
Step ten: Finalise your guttering
Once you’ve confirmed all guttering is fitted, add an external stopend to complete the installation of the gutter run.
There you have it, a newly installed gutter!
If you don’t have a downpipe already, learn how to measure downpipe and which size is suitable for your requirements via our guide.
FAQs for installing a gutter
How far apart should gutter brackets be?
Typically, you will need to have brackets at least one metre apart, no more, no less. However, if your area is likely to suffer from heavy snowfall during colder months, gutter brackets should not exceed 400mm apart.
In addition, the marking should not exceed 50mm below the roof level and be a maximum distance of 150mm from angles or stopends.
How much fall on guttering?
Guttering should allow a fall of at least 3mm per metre towards the system’s outlet. This will enable rainwater to run more easily. Guttering itself is typically sold in two-metre or four-metre lengths, so ensure you have a tape measure handy to check your placements.
Can I install guttering on other buildings?
You can! In fact, we have dedicated guides like ‘How to put guttering on a summerhouse‘ and ‘How to install guttering on a shed roof‘.
Was this guide useful?
Mentioned in this project guide: