
Wet rooms are a great alternative to a shower or bathroom. Wet rooms are becoming increasingly popular for their practicality, style, and luxury, and we have created a guide on how to install one yourself. Before installing a wet room, make sure you have measured the dimensions of the space and created an accurate layout plan. Known for being stylish and for adding value to a property, wet rooms are also fantastic for mobility issues. You can open up your home to elderly guests with accessibility issues, which can make visits more convenient for family members.
Wet rooms are also extremely easy to clean; simply apply a standard bathroom cleaner to the tiles, panels and shower unit.
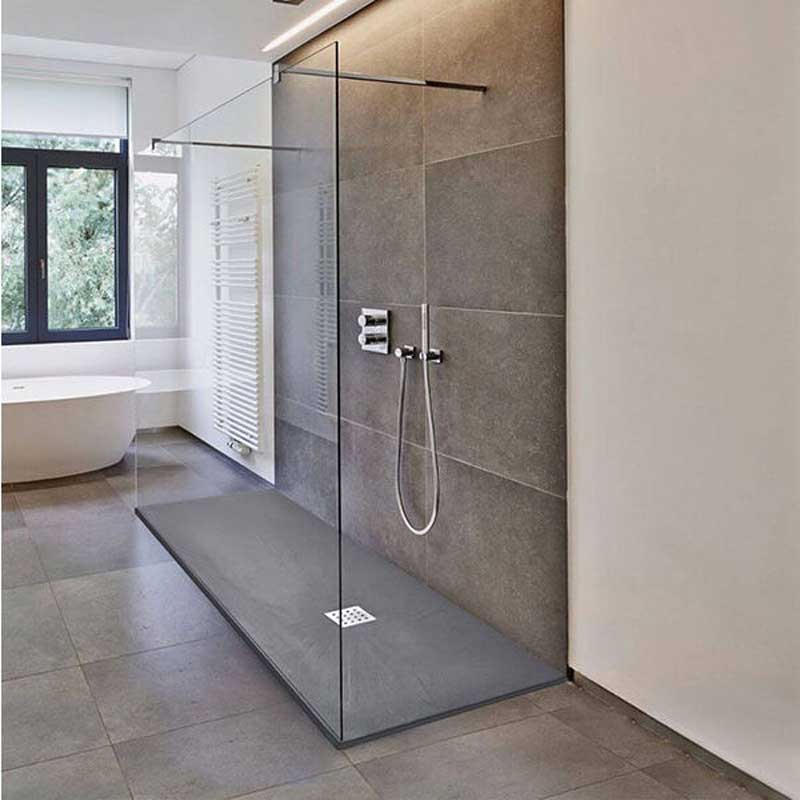
Table of contents
What do I need to install a wet room?
- Pipe connector
- Marine plywood
- Shower tray
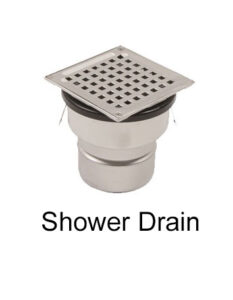
- Shower gullies
- Waterproofing and tanking kit
- Adhesive
- Underfloor heating (optional)
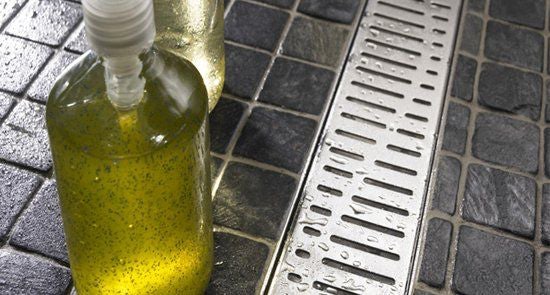
- Channel drainage (optional)
- Tiling
- Wet room panels


Step-by-step installation of a wet room
Step 1. Remove all existing floor coverings and skirting
Use firrings to raise the joists around the lowest point of the floor to ensure a 10mm fall over 2m. This will allow water to run into the drain. However, if the shower tray already has a fall, and water will not be draining outside of the shower, you may not need to create additional falls in the floor.
Step 2. Place the shower tray where desired, and mark around it
You also need to mark where the nearest joists are.
Step 3. Cut along the marked lines with a circular saw
Ensure you do not hit any surrounding pipes or wires. After you have cut along the lines, remove the loose floorboards.
Step 4. Insert battens between the joists, and fit marine plywood on top
This will create a solid layer on which to fit the shower tray.
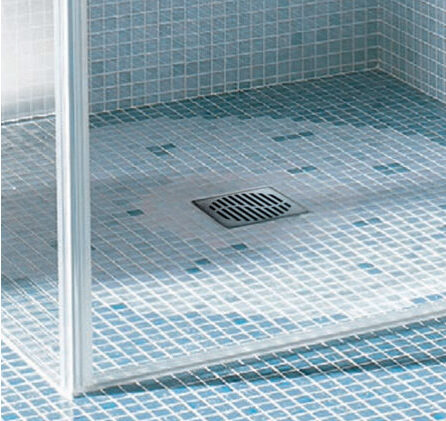
Step 5. Lay the shower tray down, mark the drain location, and then remove it again
Now you’ve marked the location of the drain; cut a hole in the floor to allow for the drainage gully.
Step 6. Remove the marine plywood so that you can fit the drain and waste pipes
Use a connector and adhesive to connect your gully to your waste pipe. We’d recommend using a solvent glue. It is important to ensure that the top of the drainage trap is level and central to the shower tray so that it will easily connect when you install the shower tray. Don’t forget to test the drain for leaks before continuing with the installation.
 Step 7. Secure the marine plywood onto the joists and battens
It is important to ensure the drain has been tested and does not leak before securing the plywood down.
Step 8. Place the shower tray down and fill the gaps
Use the previously lifted floorboards to fill any gaps that have formed between the joists and the shower tray. After that, you can remove the shower tray again.
Step 9. If your shower tray is above the floor level, install the insulated board on the floor
Choose a thickness that will bring the floor level up to the shower tray, or the depth of a tile below, if the shower tray will be tiled as well.
Step 10. Use floor primer using protective gloves to cover the complete flooring area
Once applied, leave to dry.
Step 11. Use a membrane or liquid tanking product to create a complete waterproof layer
For extra leakage or moisture prevention, you should also use pro-seal tape across all board or membrane joints, ensuring it is half on the tray or floor and half on the wall, and install internal corners with adhesive.
Step 12. Spread adhesive over the floor where the shower tray will be located, and add a sealant to the drainage trap
Now, lower the shower tray onto the floor. Once the shower tray is down, reach into the hole and pull the drainage trap up into position until it clicks. Check the edges are level and then leave to dry. If you’re planning to install underfloor heating, then this should be the next step before tiling.
Step 13. The next step is to install your tiling
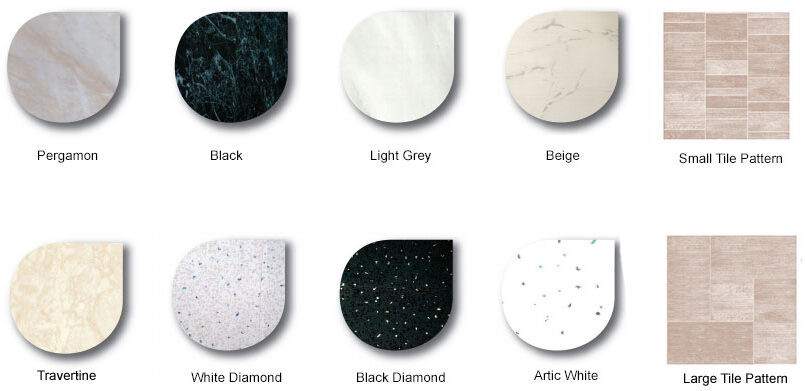
We’d recommend choosing tiles with slip resistance, and remember that the tiles must be able to accommodate the fall to the drain, which is why mosaics and small tiles are often chosen.
Step 14. Fit the shower drain onto the gully
Place the drain into the hole, and measure the distance from the finished tiles to the top of the shower, and cut this distance from the bottom of the drain section. Once cut, this can be secured in place using a wet room or bathroom adhesive.
Step 15. Install waterproof walls and ceiling
We recommend easy-to-fit tongue-and-groove Geopanels. Before fixing, it is important to ensure that the Geopanels have been trimmed to the correct size, leaving a 3-4mm clearance around any pipes or accessories. Geopanels should be fixed directly to battens using shower panel adhesive or screws, staples, or panel pins.
Top tip for Geopanels: Start fitting Geopanels at the corner furthest from the door and panel across in both directions, ensuring the last panel is fitted above the doorway. If you have any outer edges, for example, if your wet room panelling is not extending around the entire room but just in the proximity of the shower, finish them with U trims. Shower panel sealant should be used to seal joints between panels, as well as internal and external corner profiles where required, and to secure covers around any pipes or accessories.
It is important to allow at least 12 hours between tiling and fitting the floor and walls before installing a shower enclosure or deflector to allow them to set and provide extra support
For more information or help and guidance on how to install a wet room, or for any information about sourcing the materials needed, contact our drainage experts on 01752 692 221 or use our live chat in the bottom right.
Was this guide useful?
Mentioned in this project guide:


