
As far as protecting your home from moisture-related damage goes, wooden fascia boards used to be the default solution up until a couple of decades ago. Unfortunately, any timber fascia board has a tendency to rot over time, especially in older properties. So, can you replace fascias yourself and is it easy to replace fascia?
The simple answer is yes. Replacing fascia boards is something you can do. Especially when it’s uPVC. We’re going to show you exactly how to replace wooden fascia boards with uPVC.
Table of contents:
- Why choose uPVC fascia boards?
- Can you put uPVC fascia over existing wood?
- How to fit plastic fascia boards
- To conclude
Why choose uPVC fascia boards?
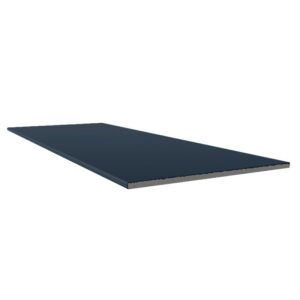
uPVC fascia boards are affordable, highly durable and extremely easy to maintain. While you should clean them when necessary, you don’t need to stain or treat them like wooden ones.
What’s more, you’ll never have to worry about rot.
Last but not least, uPVC fascia boards are available in a wide range of colours, so you won’t have a hard time finding the right match for your home’s colour scheme.
Can you put uPVC fascia over existing wood?
While it’s possible to simply clad existing wooden fascia with uPVC, we wouldn’t recommend it.
Cladding an older wooden fascia won’t stop moisture from building up or prevent any leaks. If anything, it’s likely to increase the pace of rotting and may cause significant structural damage to the entire roof over time.
So, save yourself a world of bother and start with a fresh slate.
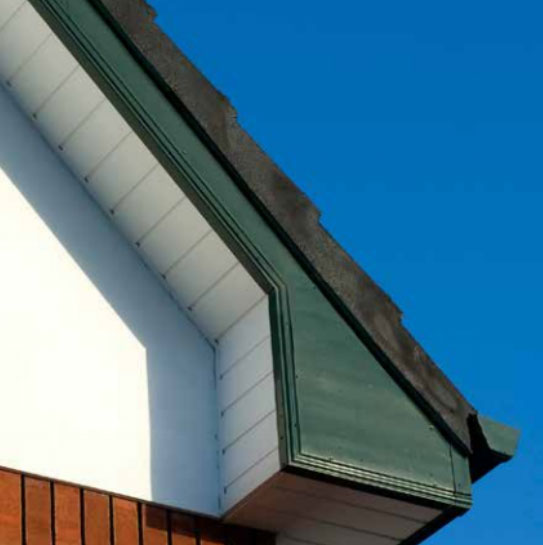
How to fit plastic fascia boards
When fitting fascia boards, the first thing to do is to completely remove all old wood and clean the surface. It’s also a good idea to remove the bottom row of tiles at this point, as it will make it easier for you to fit your replacement fascia boards.
Next, push up your new uPVC fascia boards underneath the tiles and level them.
Then, fix the fascia with stainless steel nails. While it’s possible to use other types of nails, they’ll be more prone to discolouration over time. In addition, stainless steel nails are sturdier and more durable than pretty much any alternative.
Make sure you place the nails vertically. This way, they’ll spread the load evenly. Leave a 5mm gap on each edge to allow for any expansion of the uPVC fascias and soffits that might occur.
Lastly, install cover strips at the joints and corners. Don’t forget to replace the bottom row of tiles you removed earlier.
To conclude
Replacing a fascia board is a fairly straightforward process and a uPVC fascia board comes with plenty of benefits.
As with all DIY projects at height, you should exercise caution. Luckily, when it comes to how to replace wooden fascia boards with uPVC, you don’t need any specialist tools.
Take your time, work carefully, and you’ve got this covered!

Was this guide useful?
Mentioned in this project guide:


