Thinking of building a shed to make the most of your garden or outdoor space? Don’t forget the shed base!
The shed base is what will even the surface between the floor and the ground.
This guide can teach you how to build a shed base to ensure you have a ready space available for use for your shed.
For a full guide to shed bases, shed floors and more, check out our ‘Shed buyer’s guide’.
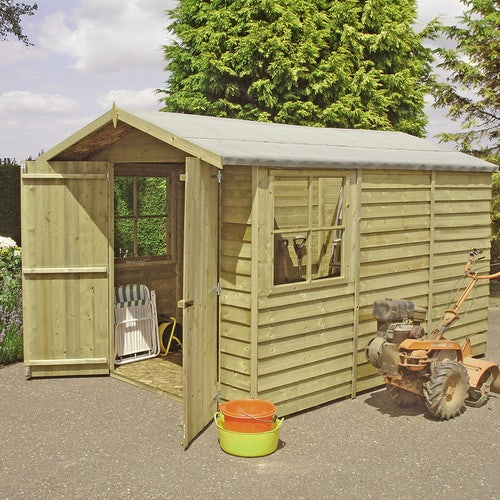
Table of contents:
- Building a shed base
- Preparing and planning for a shed base
- Laying paving slabs
- Laying with concrete
Building a shed base
As these typically come separate from the shed and floor, it is likely you’ll need to make one from scratch. There are four main types of base, including; timber base (aka portabase), concrete base, plastic base and paved base.
If constructing a larger timber shed for something like a workshop, a concrete base is ideal. The concrete base is in fact one of the most common types of shed base to choose from when it comes to garden buildings.
It is also important to note that you should not use a wooden shed base kit on an unsound base. This can risk screw holes not lining up with the wall panels.
Here are the following bases and their uses:
Timber bases: Garden sheds, small gazebo, playhouses.
Plastic bases: Garden sheds, gazebos, greenhouses, log cabins, playhouses.
Concrete bases: Garden sheds, gazebos, greenhouses, log cabins, insulated garden rooms, and playhouses.
Paving slabs bases: Garden sheds, gazebos, greenhouses, log cabins, insulated garden rooms, and playhouses.
Some basic info about the different bases:
| Base type | Pros | Cons |
| Concrete | •Easy to build | •Commonly used base type •Must be installed prior to garden building (ensures it is correctly set), else condensation can form •Can't be laid straight on the ground (requires a sub-base) •Requires extra steps for constructing frames or edges to support the concrete as it sets (aka framework) •Takes longer to build |
| Paving slabs | •Easy to build •Provides a level base •Provides a durable base | •Ground underneath must be level to ensure solid installation •Can't be laid straight onto the ground (requires a sub-base) •Can take longer to build |
| Timber | •Time-effective •Cost effective •Timber material •Variety of sizes •Stability (spikes on each corner use to secure the base into the ground) | •Higher risk of damage if ground is not level |
| Plastic | •Lightweight •Eco-friendly •Simple to install •Won't rot •Can be easily relocated |
Preparing and planning for the shed base: laying a sub base
Some key steps will need to be taken prior to the installation.
Step one
Get planning permission if you need to. Typically a shed isn’t classified as a permanent structure, but if you plan to use the shed as an outbuilding then this will have rules. Planning permission however won’t cover anything like satellite dishes, new dwellings or fuel storage tanks. View the planning portal for more information regarding permissions.
Note: You may not need planning permission if the floor area is less than 15m2 and not being used for sleeping, but better safe than sorry.
Step two
Make sure the foundation is not only level but solid enough to hold the shed base. For concrete and paving slabs, you will need to do the following:
Step three
Plan the sub-base by measuring the site out; marking the corner points of the potential square with a peg in each corner.
Step four
Run a builder’s line/string from each peg to help you understand the look of the site, then use the 3-4-5 method to make sure the corners are square.
Note: You can also measure the diagonals to ensure the lengths are the same.
Step five
To ensure a straight cut, use an edger. Cut into the lawn and use a space to cut the turf into strips. Roll each strip up as you go and remove it.
Note: Save some of the removed turf as this can be put between the lawn and the finished base if there’s space left.
Step six
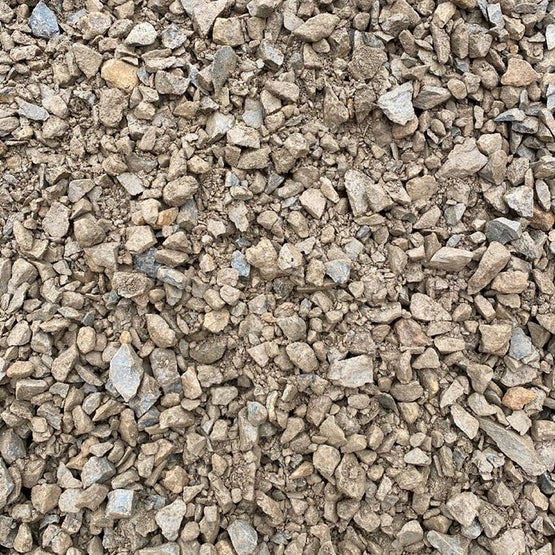
Within the assigned area, dig a depth of 15cm to build a shed base. Hammer in marker pegs (50cm x 50cm), each 1m apart, to ensure the hardcore is level. You can check the level of each peg using a spirit level, then add the hardcore so that it levels out just above the top of the pegs.
Step seven
Use an earth rammer or vibrating plate compactor to squash down the material into place. Add a thin layer of shard sand or ballast, then use a rake to level it out.
Laying paving slabs
Once you’ve got the sub-base, you can choose to lay paving slabs down. Any 600mm x 600mm size or beyond will require support from an additional lifter.
Step one
Hammer a wooden peg in each corner of the site, attaching a builders line to mark the height of the paving slabs.
Step two
Choose one of two methods for the mortar –
- Mixing four parts sand and one part cement
- Using pre-mixed mortar
Once you have chosen your mortar method to build a shed base, use a trowel to lay the mortar onto the newly created sub-base; ensuring there is enough for each individual paving slab as you go.
Step three
Obtain a bucket of water and, using a brush, cover the back of the paving slabs to ensure they’re damp. This will be used to secure the slabs in place, with the water working as an adhesive to ensure it can be slid into position.
Step four
Lift and gently lay the first slab into place over the mortar. Gently tap the slab into position using a rubber mallet – avoiding harsh force to not risk cracks in the slab.
As you move forward with the trowel, cut the external edges of the paving – these should be flush with the slab.
Continue to lay the first row the same way as done with the first, but add the same sized timber spacers (between 5mm and 10mm wide) between each slab. This will make sure the spaces between each edge of the slabs are the same.
Note: use a spirit level to make sure the paving is level as you go. If any paving slabs slide, remove and relay the paving slab – this may require more mortar.
Step five
Once the first row of paving slabs has been placed, begin to lay slabs down along the outer edges of the squared space.
Note: if you have decided to use a grid pattern, make sure the first and last slabs on alternate rows are half paving slabs.
Step six
Continue to fill in the central area from the first row backwards, checking the level with a spirit level, then leave to allow the mortar to set for at least 48 hours. You might need to cover the slabs with tarpaulin to protect them from the weather. Once dried, you can fill the spaces between the edges of the slabs with leftover mortar or paving grout (aka dry jointing compound)
Laying with concrete
If instead of slabs you choose to use concrete, follow these steps to build a shed base:
Step one
Work out how much concrete you need. The method for this is:
Surface area = length (metres) x width (metres)
Volume of area (cubic metres) = surface area x depth/thickness (fraction of a metre).
Note: Make sure to round up the numbers and percentage for wastage (minimum 10%).
Step two
If you don’t have pre-mixed concrete, mix one-part cement with five parts ballast. For a pre-mixed, add water as instructed via manufacturer instructions.
Step three
Using a watering can with a rose attached, dampen the sub-base and begin to pour concrete into the area.
Step four
Using a shovel, hold it vertically with the blade concrete side and press it into the wet concrete; moving across the concrete to ensure air pockets are removed from the laid concrete.
Step five
Spread out the concrete with a garden rake. Make sure that it is at least 18mm high above the formwork, working 1m-1.5m squared sections.
Step six
You’ll need support for this next part especially. Beginning at one end, use a straight piece of timber longer than the width of the site to flatten/compact the concrete in place and move along the site until the concrete is levelled.
Step seven
Now you will need to remove any additional concrete. Starting at the same end you began compressing the concrete, slide the same timber piece across the site in a sawing motion.
Note: if there are any dips or holes, make sure these are filled and repeat the step; filling the space with concrete until it is level with the frame.
Step eight
When you’re happy with the surface, make sure the edges are rounded off with a trowel. Cover it with tarpaulin, supporting it with small cuts of timber and weighing it down with bricks around the edges, to ensure it dries slowly. The cover can also help reduce cracking risk.
And that’s how you build a shed base!
Once the concrete is completely set, remove the framework with a crowbar and now you can finally build your shed.

Was this guide useful?
Mentioned in this project guide:


