Picture this:
You come home after a long, hard day at work only to be greeted by the worst possible sight – a flooded house!
On close inspection, you realise you’re dealing with a burst radiator pipe.
So, how do you take care of the water damage?
That’s what we’re here to find out!
Read on to learn how to dry out a house after pipe burst.
Table of contents:
- How long does it take to dry a house after a burst pipe?
- How do you dry a floor after a pipe bursts?
- How to dry a carpet after a leak
- How do you dry walls after a burst pipe?
- How to dry out the ceiling after a leak
- Taking care of burst pipe water damage
How long does it take to dry a house after a burst pipe?
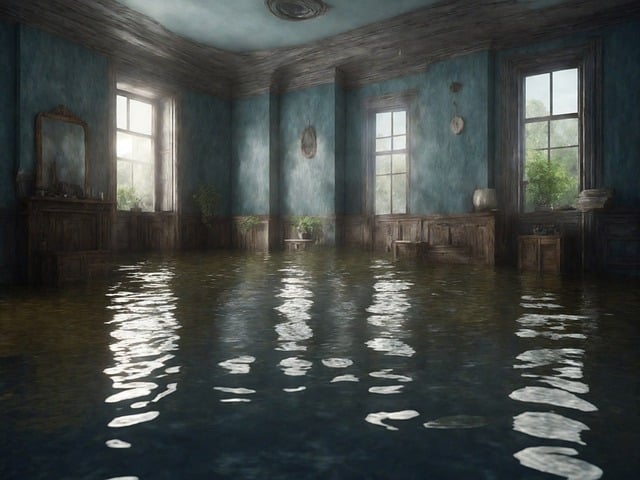
First things first:
Before you get to work, you probably want to know how much time you’re going to need, right?
The thing is:
How long it takes to dry your house after a burst pipe will typically vary depending on several factors, including the extent of the water damage, the size of the affected area, the type of materials involved and the methods used for drying.
Generally, it can take anywhere from as little as a few days to as long as seven or eight weeks to fully dry a house after a burst pipe incident.
Here are some key factors that can influence the drying time:
Firstly, the more water that has entered your home, the longer it will take to dry. For instance, a small leak may only require a few days of drying, while a flooded room can take much longer.
Secondly, clean water from a burst pipe is generally easier to deal with and dries faster than contaminated water from sources like sewage or groundwater.
What’s more:
Contaminated water requires additional precautions and may extend the drying time.
Thirdly, the type of materials in your home, such as drywall, insulation, flooring and furnishings, can affect drying time. Basically, porous materials like carpet and drywall may take longer to dry than non-porous materials.
Lastly, warmer temperatures and lower humidity levels can speed up the drying process. In particular, using dehumidifiers and fans to control the indoor environment can be helpful.
Now that we know roughly what to expect in terms of time, let’s take a closer look at the actual process.
How do you dry a floor after a pipe bursts?
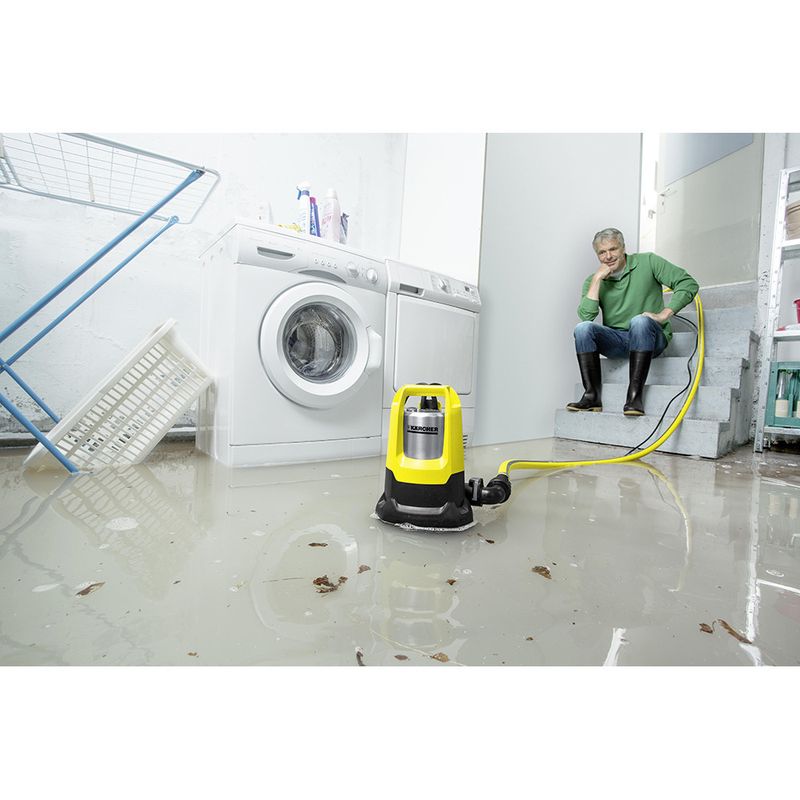
Drying a floor properly after a pipe burst is vital in preventing further water damage and potential issues like mould growth.
With that in mind, here’s how to dry out a floor after a leak:
Step 1: Turn off the water supply.
The first and most crucial step is to stop the flow of water by turning off the main water supply to the affected area. This will prevent more water from entering the space.
Step 2: Ensure safety
Before entering the affected area, make sure it’s safe to do so. Turn off electricity in the area if necessary to avoid electrical hazards.
Step 3: Remove standing water
Using a wet-dry vacuum, water pump, bucket or mop, remove as much standing water as you can. The sooner you can get rid of it, the better.
Step 4: Remove furniture and belongings.
Clear the affected area of furniture, rugs and other items. This will help prevent further damage and allow for proper access to the floor.
Step 5: Assess the damage
Determine the extent of the water damage. Inspect the flooring material and the subfloor, if applicable, to understand the full scope of the problem.
Step 6: Promote ventilation
Open windows and doors to improve air circulation. Weather permitting, this can help moisture evaporate more quickly. You can also use fans to increase airflow within the area.
Step 7: Dehumidify the space
Use dehumidifiers to extract moisture from the air. Dehumidifiers can significantly speed up the drying process, especially in the humid UK climate. You can also leave your central heating on at a temperature between 20°C and 22°C.
Step 8: Inspect for hidden moisture
Use a moisture meter to check for hidden pockets of moisture within the flooring and subfloor. It’s essential to ensure that all areas are thoroughly dry to prevent mould growth.
That’s the floor taken care of!
But what if you have a carpet in the first place?
That’s exactly what we’re going to look at next.
How to dry a carpet after a leak

Once you’ve removed any furniture and/or personal items from the carpet and extracted the excess water, follow these steps.
Step 1: Raise the carpet
If possible, lift the carpet off the floor and prop it up on blocks, bricks, or furniture. This will allow air to circulate underneath, speeding up the drying process. Depending on the size of the carpet, you might need help from a friend or family member to do this.
Step 2: Ventilate the room
Open the doors and windows to improve airflow in the room. If the weather is suitable, allow fresh air to aid in the drying process.
Step 3: Bring in fans
Position fans around the room to promote air circulation. Point them towards the wet carpet to help moisture evaporate more quickly. Ceiling fans can also be turned on to enhance ventilation if you happen to have any.
Step 4: Introduce dehumidifiers
Place dehumidifiers in the room to help remove excess moisture from the air. Dehumidifiers are particularly effective in enclosed spaces with limited ventilation. To aid the process, regularly check and empty the dehumidifier and water extractor.
Next:
Continuously check the carpet for signs of improvement. The carpet should gradually become drier over time. Depending on the extent of the water damage, it can take a day or more to completely dry.
Once that’s the case, and you’ve dried out the floor in the manner we outlined earlier, you can put the carpet back in place.
How do you dry walls after a burst pipe?
Drying your walls after house leaks is similar to drying the floor. Again, ventilating the affected room and switching on fans and dehumidifiers is key.
After you’ve done that, the remaining steps are as follows:
Step 1: Remove wall coverings
Depending on the extent of the water damage, you may need to remove wall coverings such as wallpaper, drywall, or panelling. This might be necessary to access and dry the structural components of the wall.
Be cautious:
Wet materials can be heavy and may require special handling.
Step 2: Inspect insulation and framing
Check the insulation and wall framing behind the wall covering for any signs of water damage. Remove wet insulation and dry the framing thoroughly.
Don’t forget to continuously check the affected walls for signs of improvement. They should gradually become drier over time.
Step 3: Clean and sanitise
Once the walls are dry, clean and sanitise them to prevent mould growth and eliminate any potential contaminants from the water. The easiest way to do it is with a mixture of water and white vinegar (50:50 ratio).
Unless the walls are extremely dirty, we suggest that you avoid using heavy chemicals or bleach.
How long does it take for walls to dry out after a leak?
Once again, you’re looking at anywhere from a few days to at least a couple of weeks.
That’s the walls taken care of!
Next, we’re going to turn to the ceiling.
How to dry out the ceiling after a leak

If you’re lucky, and there’s no significant water damage to the ceiling, you’re now pretty much finished drying out your flooded house.
But what if there is?
Here’s the scoop:
Step 1: Inspect the ceiling
Assess the extent of the water damage to the ceiling. Depending on the severity, you may need to address minor stains or more extensive damage.
Step 2: Remove wet ceiling material
If the ceiling is severely damaged or sagging, it may be necessary to remove damaged materials. This is especially important for preventing the growth of mould and any additional structural damage.
Be especially careful when removing wet ceiling material, as it can be heavy and potentially unstable.
After that, check the ceiling regularly for signs of improvement. If the leak is contained, the ceiling should dry out over time.
Step 3: Clean and sanitise:
Once the ceiling is dry, clean and sanitise as you did the walls.
And that’s it – you’re done!
One final word of advice:
A burst pipe is usually a sign that there’s something seriously wrong with the whole pipework or it’s simply too old. Either way, it’s a good idea to have all your pipes inspected by a professional to prevent any nasty surprises down the road.
Better to be safe than sorry!

Taking care of burst pipe water damage
Properly drying your water damaged house after a pipe burst is essential for maintaining its structural integrity and preventing mould growth.
And now that you know how to dry out a house after pipe burst, you’re in a good place to take on this tedious yet absolutely crucial task.
If you have any doubts about the extent of the damage or the necessary steps, we recommend that you consult professionals who specialise in water damage restoration. They can ensure that your floor, walls and ceiling are all thoroughly dried and restored.
And if you want to find out how to stop leaks and deal with water leakage, don’t forget to check out our Flood Hub.


