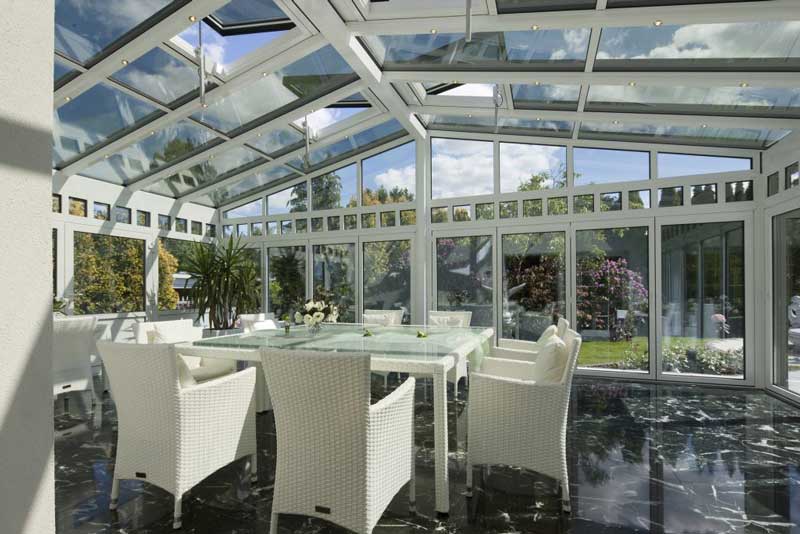
Conservatories are a great addition to your home, maximising the use of daylight, and making the perfect lounge or dining room, but the guttering is often hard to clean. A build-up of debris in the guttering on your conservatory can lead to some major problems, including mould, mildew and broken guttering, due to the extra weight adding stress to the structure.
In this article, we’ll outline some handy tips and ways in which you can ensure the guttering on your conservatory gets cleaned properly, and some tips on how to replace the guttering if required.
How to clean conservatory guttering
Use a sturdy ladder
The first thing to do is to ensure you have a sturdy stepladder or a ladder that will not put pressure on your guttering and result in splits or cracks. This ladder will need to be high enough that you can see into the gutter and reach it with your hands.
Check the downpipes
Before cleaning out the guttering, it is important to check the downpipes of your conservatory guttering. These may be blocked with plant debris and other materials, and if this is the case it will need clearing. To do so, dismantle the downpipes and then dislodge the debris, using a long piece of wire or stick if needed. Alternatively, use a powerful hose or equivalent forceful stream of water to dislodge the material. Note that if your downpipes are connected to the wall with brackets, they may need unscrewing.
Check the gutter brackets
Next, move onto the guttering along the roofline of the conservatory. Before putting any pressure on the guttering, it is important to make sure that all gutter brackets are still performing well. If there are any sagging parts of the gutter, it may be that a gutter bracket has come loose. If this is the case, replace the gutter bracket with a new one, or simply screw the gutter bracket into place. It is important to do this before cleaning the guttering out because it may otherwise break when extra pressure is applied, which is a health and safety risk when working on the guttering.
Remove debris
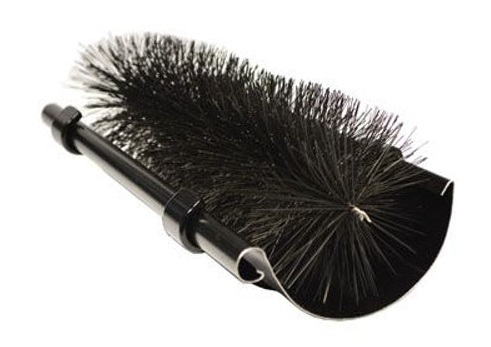
Now that the gutter brackets are secure, the guttering can be cleaned out. We’d recommend using a handheld tool, such as a trowel, to gently scrape any debris out of the guttering, and then a damp cloth to wipe any leftover dirt away. Alternatively, there are a number of gutter cleaning tools that can be used. If desired, there are a number of uPVC cleaners available that can be used to remove any stubborn stains.
Clean the ends of conservatory roof panels
The bottom edge of the conservatory roof panels may also accumulate dirt and debris. We’d recommend using a small handheld brush or damp cloth to clean these sections of the conservatory. It is important not to use too much force in this part of the process, as some of the caps can be dislodged relatively easily.
Flush with water
Once the gutters have been cleaned, use a hosepipe or source of water to flush the gutters properly, removing any further dirt or debris.
Preventative methods
To prevent debris and dirt from entering your conservatory guttering, there are a number of gutter guards and brushes available. These allow water to pass through the guttering but prevent dirt and debris from getting caught up in the guttering and creating blockages. In using products like this, the gutters will need to be cleaned less regularly, as there will be less dirt and debris entering the gutter system on your conservatory.
How to replace conservatory guttering
Over time, it is only natural that your conservatory gutters will begin to wear out, whether this is through discolouration, stains and fading or through cracks, splits and sagging. If this is occurring, you may want to consider replacing the conservatory guttering.
Remove the downpipes
The first step in the process of removing the conservatory guttering is to start with the downpipes. Remove the gutter brackets or clips from the wall with a screwdriver, before disconnecting the downpipes from the rest of the guttering system. Always start with the lowest gutter clip first, working your way up to the top of the downpipe.
Remove the guttering
Once the downpipes have been removed, the guttering can be taken down. Firstly, remove the gutter clips one at a time. Once one of the pieces of guttering is coming loose, gently remove the guttering section. Repeat this process, making sure that the gutter doesn’t fall off prematurely, or scratch any part of your conservatory.
Assemble gutter clips
Once the guttering is off the conservatory, the new guttering can be installed. To do so, it is as simple as doing the removal process but in reverse. Start off by assembling the gutter clips along the conservatory roofline – roughly 150mm from each corner, and then evenly spaced in between.
Install the guttering
Once the gutter clips have been fixed, install the conservatory guttering – the method of this can vary between manufacturers, but in conservatory guttering, it should clip into place with the gutter clips. Don’t forget that on corners, gutter joint clips will be required to fit the extra connections.
Fit the downpipes
Once the guttering is in place, the downpipes can be fitted. Firstly, ensure the downpipe is the correct height, and cut it down to size if it is too long. If needed, connect two pieces of downpipe together using a downpipe bend to go around the conservatory structure. Push the downpipe onto the outlet, and ensure the downpipe shoe is connected to the downpipe itself. Then use the gutter brackets to keep the downpipe in place. Start at the bottom and work your way up until you reach the top of the downpipe.
If you have any questions or queries about the best guttering for your project, feel free to call our team on 01752 692 221 or use the live chat and they will be more than happy to help.


