Putting up a fence comes with benefits, but it can be tricky to do if you haven’t done it before.
So we’ve put together this simple step-by-step process to help you make sure your fence sits neatly and securely in place for years to come.
If it’s your first time dealing with garden fencing, check out this guide and find out how to put up a fence!
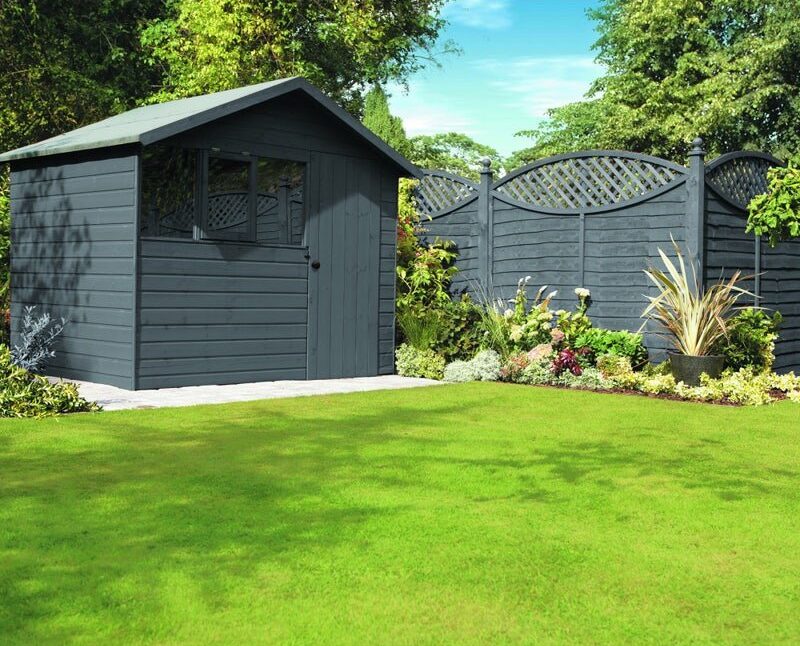
Table of contents:
- What are the benefits of putting up a fence?
- Before you build your fence
- How to prepare for a fence
- What height should a fence be?
- How many panels does a fence need?
- How to install the fence posts
- How to install fence panels by direct attachment
- How to install fence panels slot-in
- Installing the post caps
- Fitting gravel boards
What are the benefits of putting up a fence?
There are many benefits to fences that aren’t typically at the forefront of people’s minds. Here are some of the main benefits you can appreciate when it comes to building a fence:
Protection
Privacy is usually one of the main reasons someone might consider putting up a fence (though the amount of privacy can typically depend on the height of the fence itself). However, regardless of height, a fence can ensure that not only does your space enjoy reduced risk of intruders, but also reduce the damage to the garden from rough weather.
Noise prevention
Fencing can provide a way to reduce the noise that might come in from neighbours; in turn, help reduce the noise that could potentially escape the garden area.
Know your space
Sometimes you’re given a patch of land or a garden without an indicator of where yours ends and the public land/other owner’s land begins. A fence can help ensure you know what space you have available to do with as you please.
Space for pets to run
Whether it’s a horse or a dog, a fence can stop your pet from running further than intended. In fact, some dogs in particular require higher fences to stop them from jumping over. So putting up a fence can ensure they’re safe and secure when roaming your garden.
Added value
It is argued a fence can be beneficial to the initial value of your home. This is backed up by the benefits stated above. So thinking about the property value can indeed be included in the benefits.
Before you build your fence
Before you put up a fence you will need to prepare with safety gear, plan the design, obtain the items you need to build the fence and then finally put the fence up.
It is especially important that you make sure there are no electrical mains or pipes beneath the surface you plan to dig into. Without doing so can risk not only creating damage to the systems for your home, but also potential injury to yourself.
When it comes to protecting yourself, make sure you wear protective clothing, including safety goggles, a dust mask and suitable gloves. You will also need to ensure that manufacturer instructions are followed.
How to prepare for a fence
Here are the key stages for fence building:
Choosing your fence
There are many different types of fences to choose from. Whether it might be material, style or even cost on your mind, you have a range of options.
Closeboard fencing
This type of fencing is a design of overlapping vertical timber boards and is the strongest type of panelling. It’s ideal for setting the boundary for your land but can be heavy to install. So make sure you have support when installing.
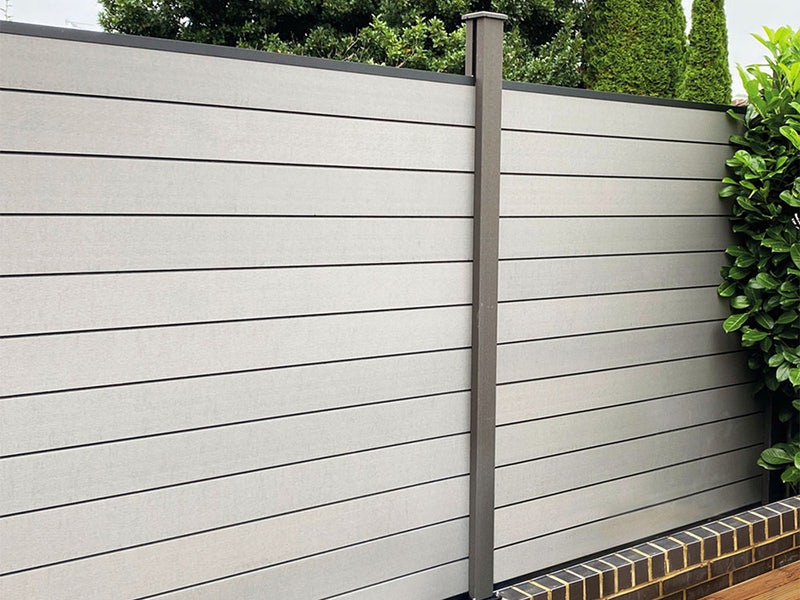
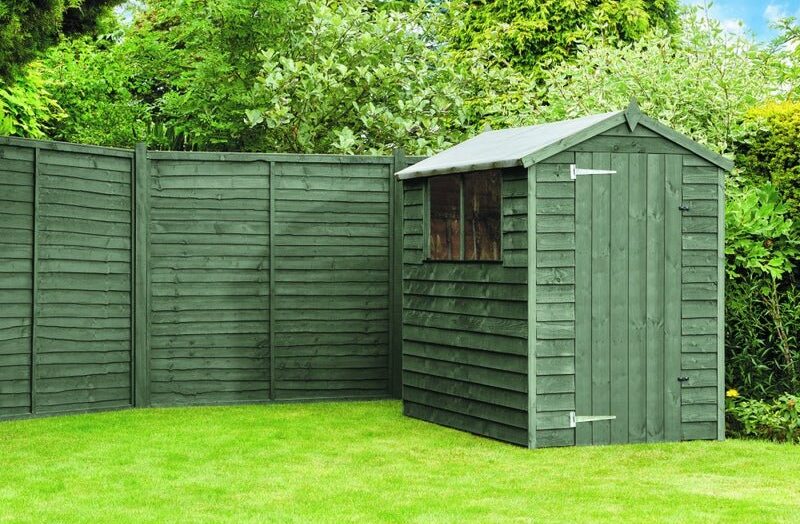
Overlap fencing
This type of fencing is similar to close board. Though the timber boards are overlapped horizontally rather than vertically and can be more cost-effective. You can essentially have a more affordable option that still offers that high-level privacy solution.
Picket fencing
This type of fencing has vertical timber boards like picket fencing, but each board has a space between them. Picket fencing is a low-boarder type of fence, but still offers a view beyond your marked-off land.
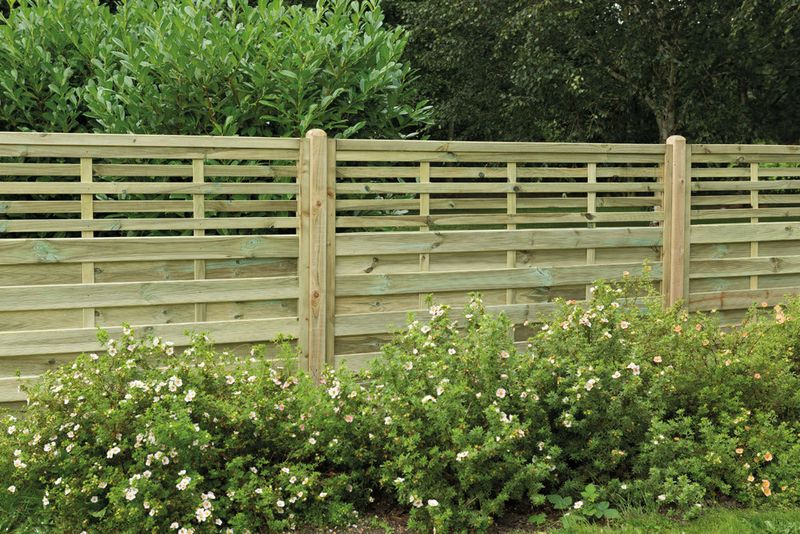
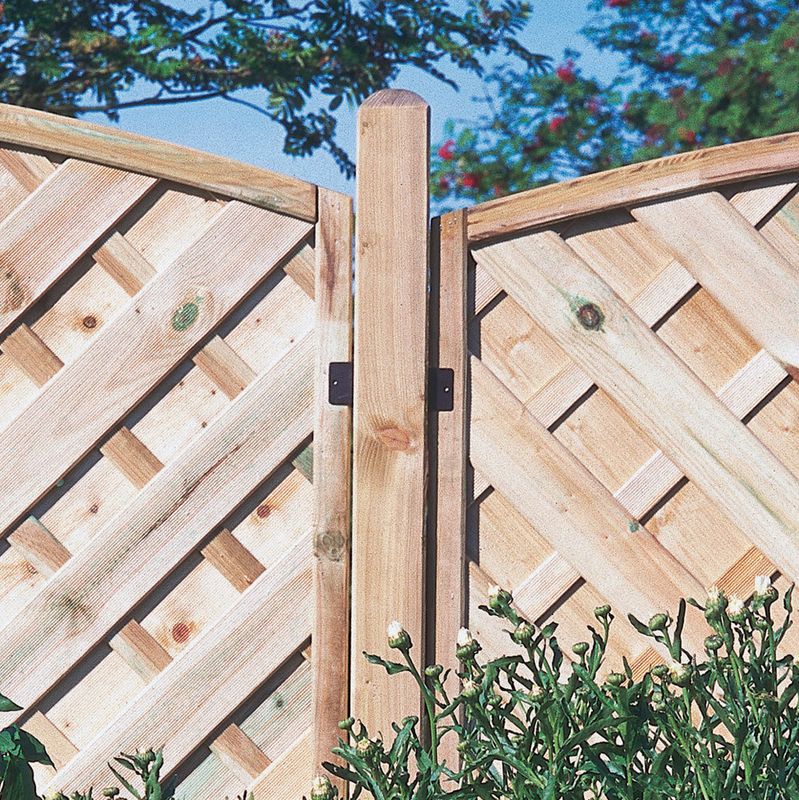
Trellis fencing
This fencing is the ultimate choice when it comes to style. You can use it on its own as a fence with visible screening or even on the top of an existing solid fence. Better yet, this type of fence can be decorated with lightweight plants or garden features thanks to the spaces within the design.
Choosing your posts
There are different types of posts to choose from.
| Post type | Pros | Cons |
| Wooden | •Cost-effective (installation and purchase) •Lightweight •Can be easily matched with fence panels •The right timber can be environmentally friendly •Easy to install •Panels can be screwed to the posts for increased security •The right treated timber can improve longevity | •At higher risk of rot •At higher risk of splitting •High maintenance |
| Concrete | •Stronger than timber •Can withstand rougher weathers (wind, storm etc) •Lower risk to damage from insects •Lower risk to damage from damp •Can last longer than wooden posts •Low maintenance | •Higher cost (installation, purchase and transport) •At higher risk of chipping •At higher risk of cracking •Concrete fenceposts are typically unfixed which means they are easily lift able; higher intruder risk likely •Poor environmental impact |
| Metal (typically steel) | •Can be lighter and stronger than concrete •East to install •Less likely to rot •Less likely to crack •Can withstand various weathers (high winds) •Compatible with almost all wooden fencing | •Not as visually appealing •Spacing not as compatible with pre-fabricated panels and will need additional supports between existing posts |
What height should a fence be?
Fence height not only depends on your preference for privacy but also on what will be done when it comes to installing the posts. So calculating what lengths the fence will be is key.
As a general rule, figure out what height you want the fence to be before working out the length of the posts to buy.
There are also specific things you will need to consider when calculating post length:
- For wooden posts in concrete, choose posts 2 ft longer than the intended fence height.
- For post spikes or bolt-down post sockets, choose posts that are the same length as the intended fence height.
Please note: Make sure that when using post spikes that you check no pipes or electric cables are beneath the intended fence area as spikes can be a length up to 18 inches.
- For fences over 6ft, it is recommended to use 4 by 4-inch posts.
- For fences below 6 ft use, 3 by 3-inch posts.
How many panels does a fence need?
Fence panels typically get put at 6ft wide. You will need to measure the length of the area where you intend to place the fence. From there you will need to do the following sum:
Length of fence ÷ width of the panel (usually 6ft) = number of panels
Once you have the total, make sure that the amount of gravel boards is the same. These will be placed at the bottom of each panel. You will also need to make sure that you add another fence post to the total of panels that are going to be installed. This is to ensure both ends of the fence are supported.
How to install the fence posts
Now that we’ve taken care of the preliminaries, let’s have a closer look at how to put up a fence, starting the posts.
Step one
Make sure the space is clear of any weeds, rocks, debris etc. You want the space as clear as possible. You will also need to make sure there are no electrics or pipes beneath the surface. This will ensure there is no damage to those systems as well as yourself.
Note: If you can’t check for pipes or electrics yourself, check with your local council.
Step two
Use a tape measure to mark out the intended fencing line, then measure the space that will be in between each post. Mark where the posts will go with wooden marking out stakes in the centre of the space you will be digging.
Step three
Dig holes for your posts. These should be three times as wide as the post size. For example, if you have a 6-inch post, dig a hole 18 inches wide. These holes should be 2ft deep; especially if you have soft soil.
Note: The following steps will need to be done fairly quickly due to the use of concrete.
Step four
Add fresh concrete mix to hold it in place. Check manufacturer instructions when adding the concrete to ensure it is mixed correctly. Adding this not only keeps it in place but helps reduce wooden post rotting in future.
To improve drainage away from the post, use a trowel to create a slight slope going down away from the post for improved water runoff.
Step five
Before the concrete dries, place the post into the hole with the concrete and use a spirit level to check it is vertical. Do this on two connecting sides of the post.
Step six
Cut two pieces of short timber. On two opposite sides of the post, screw these pieces of timber to the post to keep the post in place as the concrete dries.
Step seven
Continue steps four, five and six across the line of the planned fence where the posts will sit.
Step eight
Wood especially is at risk of rot, so when fitting fencing panels you will need to make sure they’re off the ground. Do this by making sure the fence panels are raised 50mm to 100mm above the ground. You can temporarily do this by supporting the fence with pieces of timber or even bricks.
During this next stage, you can find out how to install the panels to the fence.
How to install fence panels by direct attachment
When putting up a fence, there are a few select ways to install the panels. It will typically depend on the type of post material you have.
This type of installation involves nailing the panels directly to the posts. This is ideal for wooden posts and fencing.
Step one
Obtain galvanised wood screws between two to three inches.
Step two
Drill pilot holes into the fence posts and on the panels where. Not only will this help ensure you know where the panel fits, but also ensure a smooth entry into the post without causing damage to the wood.
Step three
Screw the first panel in place and continue adding the panels until the fence is complete.
Note: An alternative to nails is using panel fixing clips. These can easily help the fence get attached to the post. Simply attach the fence clips to the post and slide the panel between the clip’s jaws. Following that you can screw or nail the panel in place.
How to install fence panels slot-in
This type of installation involves slotting the panels into the grooves made on the edges of the post – typically the posts will be concrete for this method.
Step one
Slide the panel into place in the groove located at the edge of the concrete post.
Step two
Using a spirit level, make sure the fence panel is sitting vertically.
Continue these steps until all fence panels are installed.

Installing the post caps
Once you have completed the installation of your panels via the appropriate methods, you can install the caps.
This is the final part of our guide on how to put up a fence, so you’ve almost made it to the end!

Step one
To prevent splitting during installation, you can either dip the post cap in water or (if screwing them in place) drill pilot holes into the post.
Step two
There are multiple ways to attach the post cap to the top of the post. You can typically nail or screw them on and, for extra secure attachment, apply a silicone-based sealant on the bottom half of the cap. The sealant can help reduce the chance of water going in beneath the post and prevent the risk of rot on the top of the post itself.
And that’s how to put up a fence!
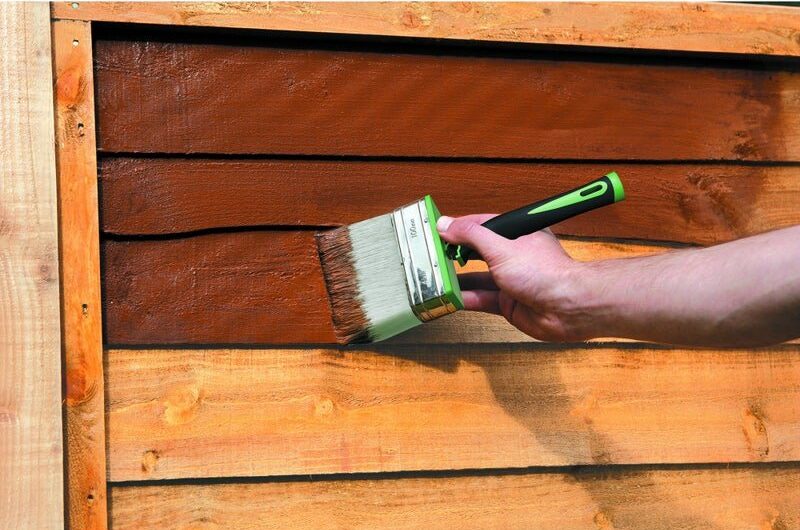
Now that your fence is complete, you can paint your fence or simply leave it looking natural and apply a treatment to keep fungi and insects from affecting it for longer.
Fitting gravel boards
A gravel board is an optional installation on a fence. They’re commonly used to help reduce rotting in wood. So typically, if you want to ensure the treated wood is protected for longer, install a gravel board.


